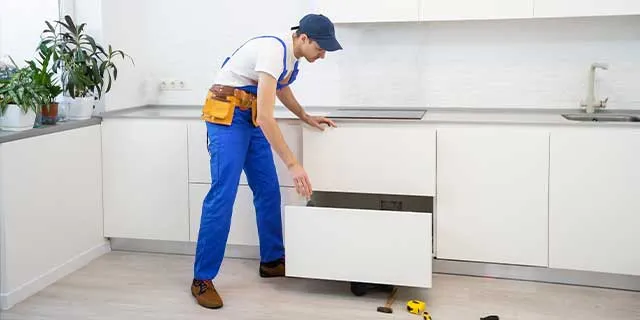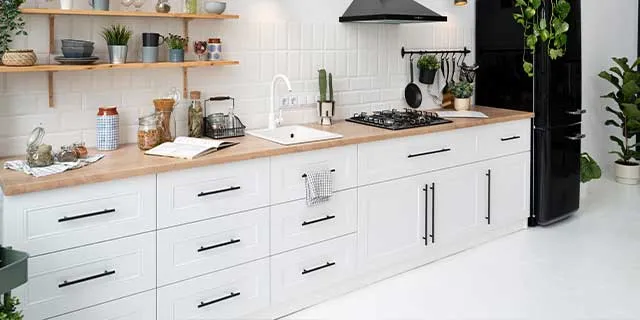
If you know how to install kitchen cabinets by yourself, you can save some money and develop on it as a side hustle. Installing kitchen cabinets is not much difficult. It would help if you had the right tools, basic knowledge of carpentry, and lots of determination. If you don't know installing kitchen cabinets, here, we will explain to you how to install kitchen cabinets by yourself in a step-by-step easily.
Make a plan about installing kitchen cabinets
Everything begins with a plan, and you write down everything in it. The same goes for this job. It would be best to start with what you want to achieve and your new kitchen cabinets to look at. Make the measurements of your kitchen spaces. It includes the height, length, breadth of walls, ceiling, and floor. If possible, make a blueprint of the kitchen and how you want to look it once you are done with it. It will also help you procure the right-sized cabinets that fit your spaces perfectly. You can plan to add some kitchen cabinet accessories to enhance kitchen functionality.
Arrange Tools and materials for installing kitchen cabinets
To start working on installing kitchen cabinets, you need to first get your hands on the right tools and materials to finish the job. The list can be exhaustive depending on the volume of the job. But, typically, it would consist of the following things:
- Measuring tape
- Masking tape
- Drilling machine preferably cordless
- Drill bits
- Electric screwdriver
- Screws of different sizes
- Large and small nails
- Long level boards
- Clamps
- Circular, table, and jigsaws
- Hammer
- Wood shims
- Brackets
- Pencil
- Stud finder
Order and inspect the kitchen cabinets
When you order cabinets, you have the option to choose between fully assembled and ready-to-assemble (RTA) cabinets. The choice is yours. You may opt for the latter if you have time at hand because building them would take time. But it could be a cost-effective alternative as well. Whatever you go for, inspect the cabinets for any quality defects when they arrive. Look for any extra trims, filler strips that you might have ordered. And in the case of RTA cabinets, count the number of shelves, drawers, doors, etc. Also, the required number of brackets, hinges, and drawer glides that you need to assemble.
Check the kitchen floor leveling

Over time, the floor of the house becomes uneven and may develop slight slopes. It might not be visible, but it is there. It would help if you were sure of it before installing your cabinets and finding the highest point on the floor. For this, place the 8' level on the ground against the wall. If you notice space between the level and the floor or if the level oscillates, it means the floor is uneven.
You need to find the highest point on the floor before beginning the installation. Use the 8' level around the room to find the highest spot and mark it. Measure the height of your lower cabinet up to the highest point and mark it on the wall as well. Now draw a line around the room using a level between these points.
Installing the kitchen wall cabinets
The next thing is installing the cabinets. You would start with the wall or top cabinets first.
Measure the height of the top and lower cabinets and see how much space you can leave between the top cabinet and the ceiling and also between the top and lower cabinets. Ideally, it would be best to finalize this before ordering the cabinets to avoid any problems later. Usually, a space of around 17" is considered ideal between the top and lower cabinets.
Now identify and mark the spots where you will put studs on the wall; after that, duplicate the same marks on the cabinets backsides where you will drill holes to install them on the wall. Align the cabinet holes perfectly with the wall studs and install the cabinet on the wall. Now drill screws in the cabinet starting from the top side's holes. Once done, see if the fixing has been straight. You can draw a line underneath it to check this or use a level.
Installing the kitchen floor cabinets

Once done with the wall cabinets, it's time to do the floor cabinets. It is more or less the same procedure. So let's walk you through it in a step-by-step manner.
The first thing is to ensure that the cabinets are perfectly leveled. If need be, use wooden shims to raise the cabinets to the highest floor point you identified earlier. The cabinets need to be perfectly leveled from side to side and front to back and once you are satisfied, screw the cabinet to the wall studs.
After doing one cabinet, it is time to work on the adjoining cabinets. Use a clamp to hold the face frames of both cupboards and insert screws in them using a drill. After that, securely fasten them to make them fit together firmly. Throughout this procedure, ensure that the cabinets are perfectly leveled. Use shims to level the cabinets under and behind the cabinets whenever needed.
When you hit a corner, use a filler strip, if need be, to make room for doors and drawers. Then, push the adjoining cabinet and fasten it the way we described above.
Do not fasten the screws unless you are sure that the cabinets are level an aligned.
Pro tips on how to install kitchen cabinets by yourself:
- Check for any horizontal and vertical bumps on the walls before installation.
- Always do the upper cabinet first.
- When doing lower cabinets, start with the corner cabinet first.
- Make a layout and start with it.
- Do not assume anything. Measure everything and ensure it is accurate and precise.
- Use filler strip to hide space between cabinets.
Conclusion
That was all on how to install kitchen cabinets by yourself. We hope this step-by-step DIY kitchen cabinet installation guide will help you get things done smoothly and without any significant hiccups. You might encounter minor problems along the way, but if you have planned everything and are sure of what you are doing, you won't have much trouble here.

